

;)
You can seal a container full of dry, healthy cargo and have it arrive weeks later molded, corroded, or caked, without a single leak, spill, or storm along the way.
The fix is combining three things: moisture control sized to your cargo and transit time, temperature stabilization to narrow the swings that cause it, and a container that’s properly dried and prepared before it’s sealed. Skip any one of those, and condensation, “container rain,” can still ruin the load.
That combination matters more this year than it used to. Reefer costs have nearly doubled, so more shippers are leaning on passive protection instead of refrigeration, and rerouting around conflict zones like the Strait of Hormuz is adding 15 to 20 days to some lanes, more time for temperature swings to do their damage.
Here’s what actually causes condensation, what it costs you when it’s ignored, and how to stop it, by use case and by cargo.
What Causes Condensation in a Shipping Container?
Think of a cold can of soda on a hot day. Pull it from the fridge, set it down, and within minutes the outside is wet, moisture from the warm air condensing on the cold metal. A shipping container does the same thing, just at a much larger scale.
Warm air holds more water vapor than cool air. During ocean transit, a container’s steel walls and ceiling (highly conductive) cool overnight or when the vessel moves into a colder region. Once those surfaces drop below the dew point of the humid air trapped inside, water condenses directly onto the steel. When enough builds up on the ceiling, it drips down onto the cargo below, a phenomenon the industry calls container rain, and it’s especially damaging to whatever sits in the top layer of the load.
A few different things drive this:
- Temperature swings. Day-to-night cooling and moving between climate zones are the biggest triggers.
- Ambient humidity at origin. Cargo loaded in a humid climate brings that humidity inside the container with it.
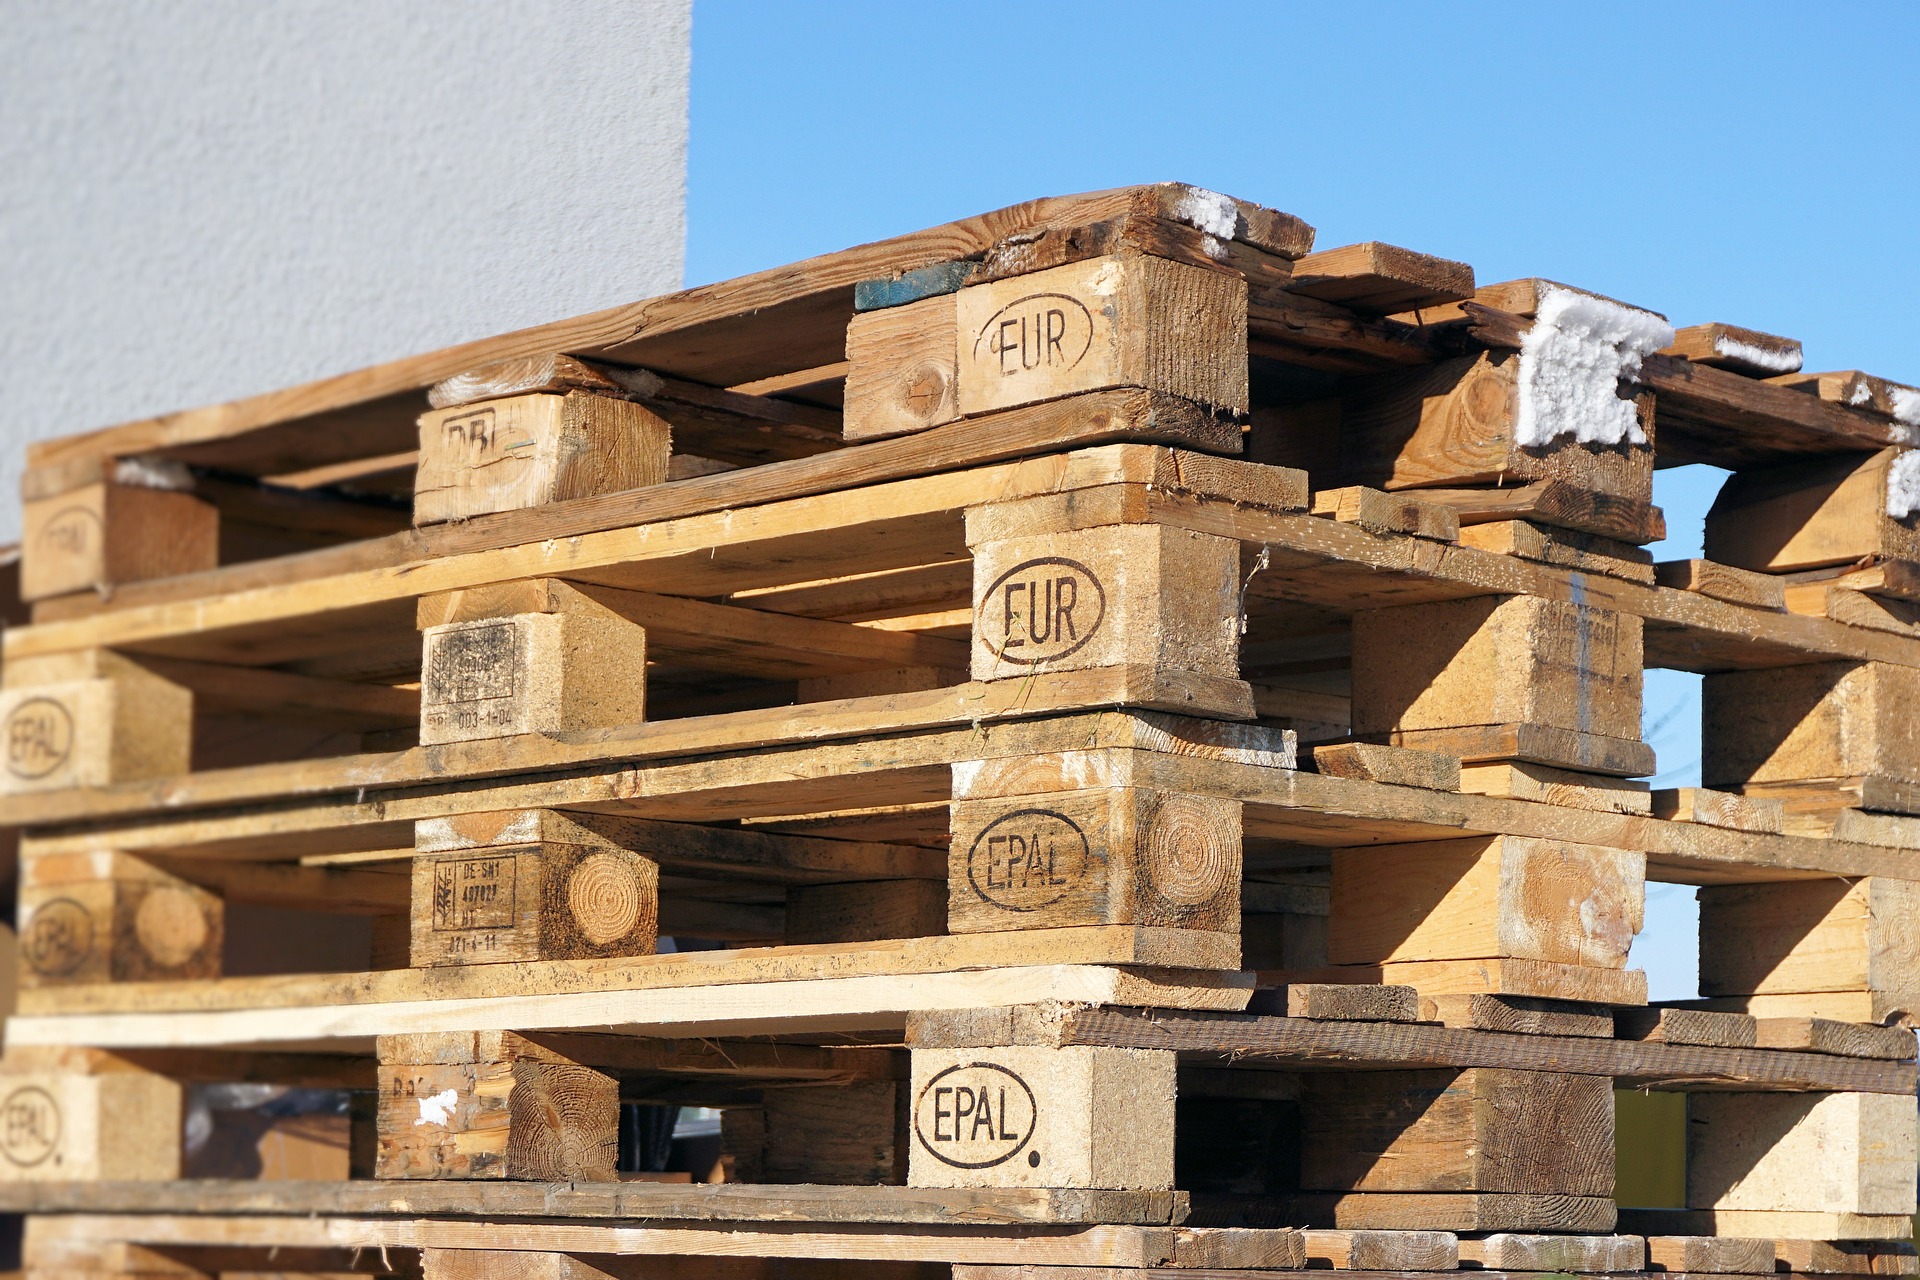
- Moisture already inside the container. Wood pallets, high-recycled-content cardboard, and hygroscopic cargo like cocoa or other agricultural goods all carry their own moisture and release it as conditions change (more on this below).
- Poor airflow. Standard container vents are usually sized to equalize pressure, not to actually ventilate for temperature control.
One term worth using carefully: “cargo sweat.” The CTU Code (more on that below) defines it narrowly, condensation forming directly on cold cargo surfaces when a container moves from a cold climate into a warm one, which is especially hard on metal since corrosion starts immediately. That’s different from hygroscopic cargo (wood, coffee, grain, textiles, paper, and others) simply absorbing and releasing its own moisture as temperatures change, which is real and well-documented, just a different mechanism.
The Real Cost of Getting It Wrong
The hardest part about moisture and temperature damage is that it’s silent and non-visible. Cargo can look fine when the doors close and arrive mold-streaked, corroded, or caked weeks later, long after there’s anything you can do about it.
Once relative humidity inside a container climbs past 40%, corrosion risk rises for ferrous metals. Past 75%, mould growth risk rises. Those are the working thresholds in the CTU Code, the international guidance on packing cargo transport units, and they’re a more useful way to think about “how much humidity is too much” than a vague instinct.
The damage itself tends to cascade in a few predictable ways:
- Mold and mildew, which can begin within 24 to 48 hours of moisture exposure and spread fast enough to render an entire shipment unsaleable.
- Metal corrosion, which may not show up until the product reaches the customer, turning into a warranty claim.
- Packaging failure, as wet boxes and pallets weaken, crush, and lose stability.
- Electronics failure, from corroded circuit boards.
- Caking, in powdered goods like table salt, beverage powders, and sugars.
- Container degradation from repeated exposure over the container’s service life.
The Hidden Moisture Sources Most Exporters Miss
Most exporters assume that once cargo is loaded into a container, it’s protected. The reality is more complicated: some of the packaging materials doing the protecting are also adding moisture of their own.
High-recycled-content cardboard carries more moisture than virgin material. Wooden pallets, especially anything cut from fresh lumber, carry moisture too, and can release it into an otherwise dry container over the course of a voyage. Shrink wrap, while useful for stability, can trap that moisture against the cargo instead of letting it escape.
None of this means you should stop using pallets, cardboard, or shrink wrap. All three are often necessary. It means accounting for the extra moisture risk they introduce, rather than assuming the container’s job is done once the doors close.
How to Stop Condensation: Solutions by Use Case
There’s no universal desiccant formula that works for every shipment. The right approach depends on the application, the transit time, and whether there’s already an ongoing moisture issue, which is exactly why a custom-tailored plan consistently outperforms a one-size-fits-all product.
The starting point is figuring out which situation you’re actually solving for:
| Use Case | What’s Happening | What Actually Works |
|---|---|---|
| Ocean freight (in transit) | No power source. Temperature swings happen automatically as the vessel crosses climate zones and day/night cycles. | Passive moisture control sized to the cargo, container, and transit time, plus temperature stabilization for sensitive loads. |
| Static storage (with power access) | The container isn’t moving, but ambient humidity still builds up, especially in humid climates. | Dehumidifiers, drained or hosed regularly, paired with desiccants for the moisture that builds up between cycles. |
| Converted or repurposed containers | Long-term use (offices, workshops, storage units) where insulation and ventilation choices get made once, not per shipment. | Structural fixes: insulation and ventilation planned around the local climate, with ongoing humidity monitoring. |
We’ve protected shipments across all three. Popcorn from Argentina and medical supplies moving from Asia to the U.S. during COVID both needed moisture and temperature protection engineered around a specific route and cargo type. Humanitarian aid shipped to the Caribbean after a hurricane needed the same thing under tighter time pressure. Fine art stored in New York City is the static-storage case, no vessel involved, but the same humidity math applies.
Within the shipping use case specifically, here’s what actually moves the needle:
1. Choose the Right Pallets
Wood pallets, especially those made from fresh lumber, can release moisture into an otherwise dry container. Even pallets that aren’t newly cut absorb ambient moisture wherever they’re stored, then release it during transit. Plastic pallets neither hold nor react to moisture, and they can be cleaned and sanitized, which wood can’t.
2. Control Moisture With Desiccants
This is where a lot of desiccant guidance oversimplifies. Silica gel works by adsorption: it attracts moisture to its surface without a chemical change, and it caps out around 40% of its own weight in absorbed moisture. Our container desiccants work differently. HyBag uses calcium chloride to absorb, not just adsorb, moisture, locking it into a solid gel so it can’t leak back out, and a single bag can take on 100% to 300% of its own weight before it’s spent.
- HyBag hangs from the container’s built-in hooks for steady dehumidifying through the full voyage.
- HyBlanket drapes over the top of the cargo to catch container rain before it reaches the goods.
- HyPad lays in with the cargo, useful under chilled goods or anything with spill risk.
How much you need depends on the container, the cargo, and the transit time. We calculate it per shipment rather than applying a flat formula, because a fixed number that works for a short, dry-cargo run can leave a long, humid-climate shipment badly underprotected.
3. Stabilize Temperature
Condensation happens because of temperature swings, so narrowing those swings is its own form of prevention. Our Temcore container liners are built for this: a multi-layer design that limits temperature extremes, installed with a click-on hanging system attached to the container’s D-rings. As long as the cargo stays warmer than the dew point, condensation has nothing to form on.
4. Ventilate With Intent
Standard container vents mostly just equalize pressure, not temperature. Purpose-built ventilation, passive cross-flow vents or active exhaust and roof fans, can help. But if you’re shipping through a humid climate, ventilation can pull in more moisture than it removes, so it’s a tool to use deliberately, not a default setting.
5. Consider Dehumidifiers for Storage
Dehumidifiers work well for containers in static storage with access to power, but they’re not practical for cargo in transit. Running a dehumidifier reduces ambient moisture, but plan to check and empty it regularly, or set up drainage, since it fills with the same moisture it’s removing.
6. Inspect for Container Damage
Cracks, holes, a warped floor, or doors that don’t seal all the way let moisture in regardless of what’s inside the container. Severe rust, structural dents, and doors that are difficult to open or close are all signs it’s time to retire a container rather than keep loading it.
Why Adding a Desiccant Isn’t Always Enough
This is where a lot of advice, including some of our own in the past, oversimplifies the problem. The CTU Code, the joint IMO/ILO/UNECE Code of Practice for Packing of Cargo Transport Units, is explicit on this point: adding desiccant to a container of hygroscopic cargo that isn’t already “container-dry” before loading will generally fail. The desiccant simply can’t out-absorb the moisture the cargo itself keeps releasing over the course of the voyage.
The Code also gives a concrete way to think about dew point instead of a vague “keep it dry” instruction: air at 30°C and 57% relative humidity has a dew point of 20°C, meaning condensation starts the moment the container’s internal air cools to that point. That’s the number a desiccant and a temperature-stabilizing liner are both working against.
This is exactly why we size every solution to the application, the transit time, and whether there’s an existing issue, rather than selling a standard product off the shelf. A desiccant amount that works for one lane, one cargo type, and one season won’t necessarily work for another, and pretending otherwise is how shipments end up damaged despite “doing everything right.”
Not sure what your shipment actually needs? Request a Solution Assessment and we’ll walk through your route, cargo, and container to build a moisture and temperature plan around it, not a generic checklist.
Moisture Control vs. Temperature Stabilization vs. Thermal Insulation
These three get blurred together constantly, and understanding the difference helps you ask for the right thing.
- Moisture control removes water vapor that’s already inside the container, or forming inside it, using products like HyBag and HyBlanket.
- Temperature stabilization limits how far temperatures swing inside the container in the first place, which matters for cargo like wine or certain plastics that shouldn’t be exposed to extreme heat.
- Thermal insulation (our Temcore line) is built for cold chain and shorter hauls, holding a stable internal temperature rather than just moderating swings.
Most shipments need at least the first two. Whether you need the third depends on the cargo and the route.
Climate-Specific Considerations
The mechanism is the same everywhere, warm moist air meeting a surface below its dew point, but climate changes which lever matters most.
- Humid or coastal origins: ambient humidity is already high before the container is even sealed, so ventilation can do more harm than good. Lean on desiccants and temperature stabilization instead.
- Cold routes and winter transits: bigger swings between a warm loading dock and a cold ocean crossing mean more opportunities to cross the dew point.
- Desert or inland routes with big day-night swings: the same dew-point math applies, just compressed into a single 24-hour cycle instead of a multi-week voyage.
Pre-Loading and Maintenance Checklist
- Dry cargo and pallets before loading. A container that isn’t already close to “container-dry” puts more pressure on whatever desiccant you use.
- Inspect the container for damage: leaks, holes, warped floors, and doors that don’t seal.
- Size desiccant to the cargo, container, and transit time rather than using a flat per-container number. See our sizing guide for the variables that matter most.
- Monitor humidity where practical, humidity indicator cards are a low-cost way to catch a problem before it shows up as damage.
- Re-check partway through transit when the shipment allows it, rather than waiting until the doors open at destination.

Frequently Asked Questions
Why Is My Shipping Container Sweating?
Your container is sweating because warm, humid air inside it is meeting a surface, usually the steel ceiling or walls, that has cooled below the air’s dew point. That temperature difference is enough to trigger condensation, even without any leaks or outside water getting in.
What Is Container Rain?
Container rain is condensation that collects on a container’s ceiling, forms droplets, and drips down onto the cargo below like rain. It’s especially damaging because it soaks the top layer of the load first, which is often where the most sensitive cargo sits. Read more about what causes container rain.
Why Does Condensation Form on the Ceiling First?
Heat rises, carrying warm, moist air up toward the ceiling, which is also the part of the container most exposed to rapid outside cooling. That combination makes the ceiling the first surface to drop below the dew point, so it’s typically where condensation starts.
How Much Desiccant Does a Shipping Container Need?
It depends on the container size, the cargo type, and the transit time, there’s no single number that works for every shipment. As a general guide, moisture-sensitive and hygroscopic cargo need more desiccant than cargo that isn’t affected by humidity. Our sizing guide breaks down the variables, or you can request a solution assessment for a shipment-specific recommendation.
Can Ventilation Make Condensation Worse?
Yes, if you’re shipping through or storing cargo in a humid climate. Ventilation is designed to equalize temperature, but if the air coming in is more humid than the air already inside the container, it adds moisture instead of removing it.
Can Mold Grow Inside a Sealed Shipping Container?
Yes. Mold and mildew don’t need outside air to grow, only moisture, and a sealed container that’s experienced condensation has both moisture and an enclosed environment. Mold can begin developing within 24 to 48 hours of sustained moisture exposure. Here’s how to prevent it before it starts.
How Eurolog Packing Group Protects Your Shipments
Moisture and temperature damage rarely announces itself. It’s silent and non-visible until a container opens at destination, which is exactly why “put it in the container and hope” isn’t a strategy.
At Eurolog Packing Group, we’ve spent 15+ years building custom-tailored protection for 150+ clients worldwide, with a 100% satisfaction track record. Our HyBag, HyBlanket, and HyPad desiccants, paired with Temcore temperature stabilization where needed, are matched to your specific route, season, container type, and cargo, not sold off a shelf.
Every shipment is different. Yours deserves a plan built around it. Request a Solution Assessment and let’s design your custom moisture and temperature protection.


